
DragonWriter
Scenes
Scenes are the meat of your story, where the actual writing occurs.
Adding or editing a scene
To add your first scene, you must first have added at least one part, and at least one chapter.
Add a scene by clicking the + icon to the right of the chapter you want to add the scene to.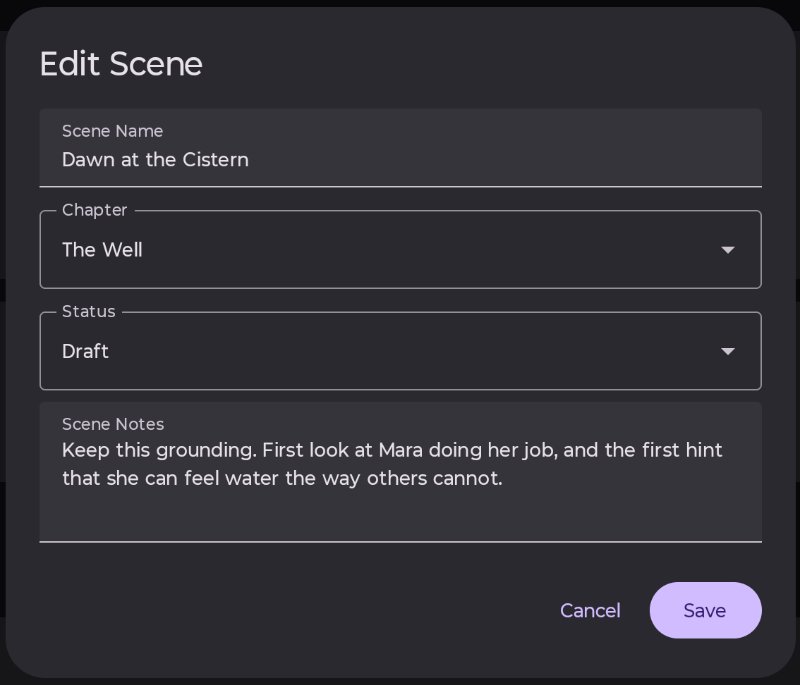
Fields:
- Scene Name: The name of your scene. Required.
- Chapter: This will automatically select the chapter you pressed + next to. You can change this later. Required.
- Status: The status of this scene. By default it is set to Plan. Options are Plan, Draft, Edit, Done. Required.
- Scene Notes: Notes for what you’re going to write in this scene. These do not count towards the word count, and show in the scene editor in the right panel. Optional.
Moving scenes
You can move scenes to a different chapter using the pencil icon to edit the scene, and selecting a different chapter from the drop down menu.
You can move scenes up or down within a chapter by using the arrows to the right of the scene name in the story overview page.
Adding content to scenes
To start writing your story, tap on a scene name and you will be taken to the scene editor:
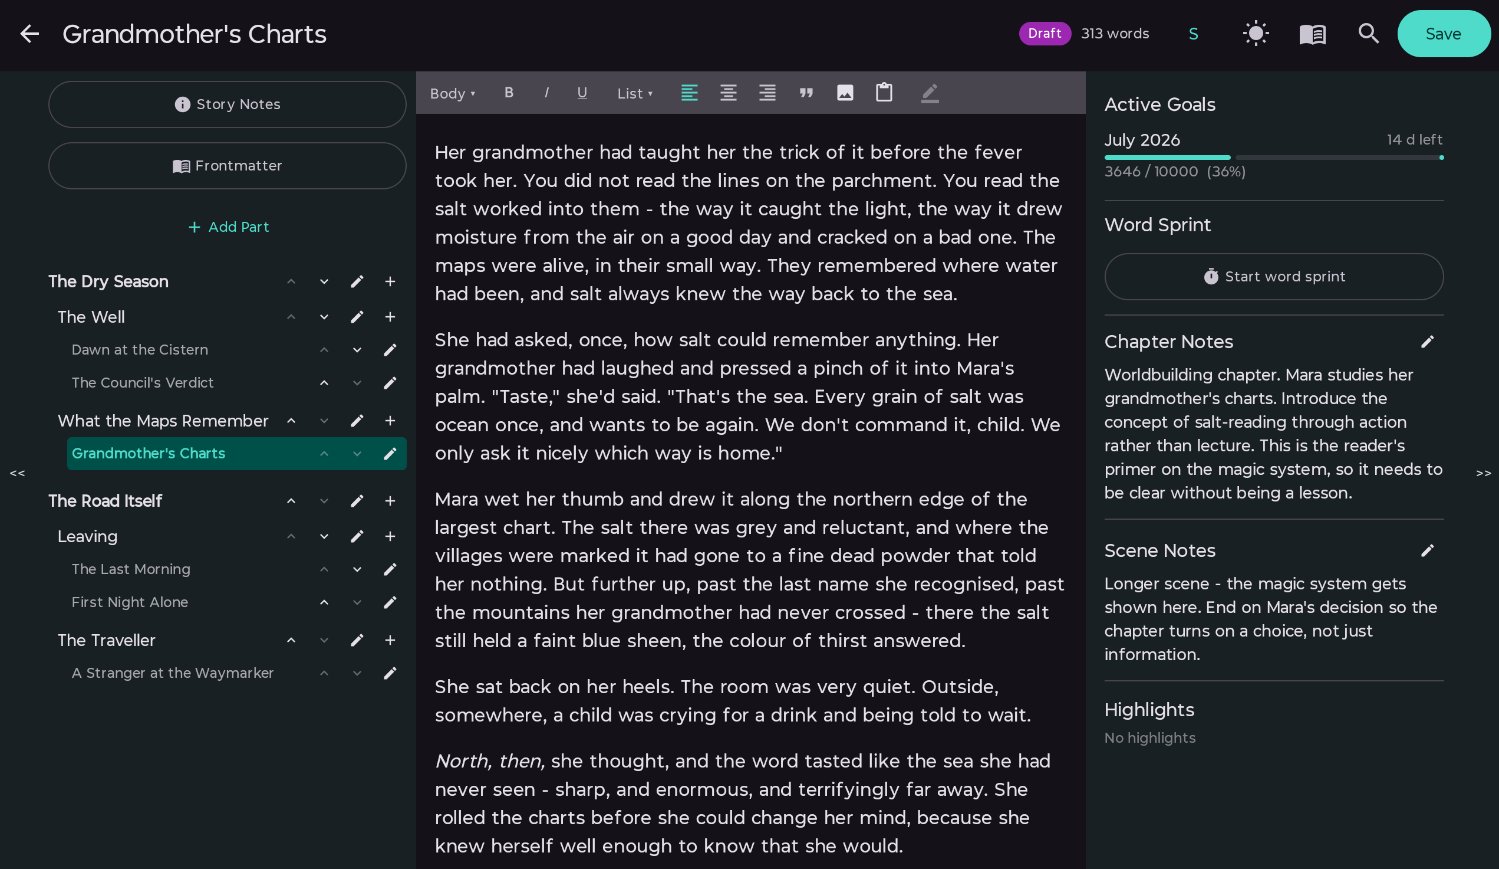
You can start by just tapping into the middle panel and typing. By default it will be in rich text mode, and give you the editing toolbar at the top for some basic editing (bold, italics, underline, headings, lists).
You can press the Save button to save manually. Exiting the scene, or switching to a different scene, will automatically save.
Menus
-
Top menu
- Scene status is shown (eg Draft).
- Scene word count is shown (updated as you type, highlight text to get word count for specific section).
- S toggles between S (small), M (medium), and L (large) text in the editor.
- ☀ icon toggles between ☀ (light) and ☾ (dark) mode.
- 📖 icon enters reading mode, emulates an eBook format. You can see any inserted images in reading mode.
- 🔍 icon is the find and replace function.
-
Left menu
- Access your Story Notes. For more information see story notes.
- Access your Frontmatter. Information coming soon.
- << collapses the left menu. >> brings the left menu back.
- You can add, edit, and rearrange story parts, chapters and scenes from here.
- Tapping a scene name will switch to that scene.
-
Right menu
- >> collapses the right menu. << brings the right menu back.
- Any currently active goals show as progress bars at the top.
- Button to start a word sprint (see sprints for more).
- Chapter notes are shown here and can be edited.
- Scene notes are shown here and can be edited.
- Highlights are shown here and can be clicked (to go to highlight) and edited.
-
Rich text editor
- Select paragraph style.
- Formatting buttons: bold, italics, underline.
- Lists: unordered (bullet point), ordered (numbers).
- Alignment: left, center, right.
- Quote.
- Insert image (choice of alignment and size). This will insert a placeholder text, click reading mode (scene editor) or preview (story notes and frontmatter) to see your image.
- Paste Markdown. If you have Markdown-formatted text in your clipboard, click this button to insert it with formatting at the cursor location.
- Highlight. Select text and highlight it to write notes. Useful for noting things for later edits or improvements.
Additional screenshots
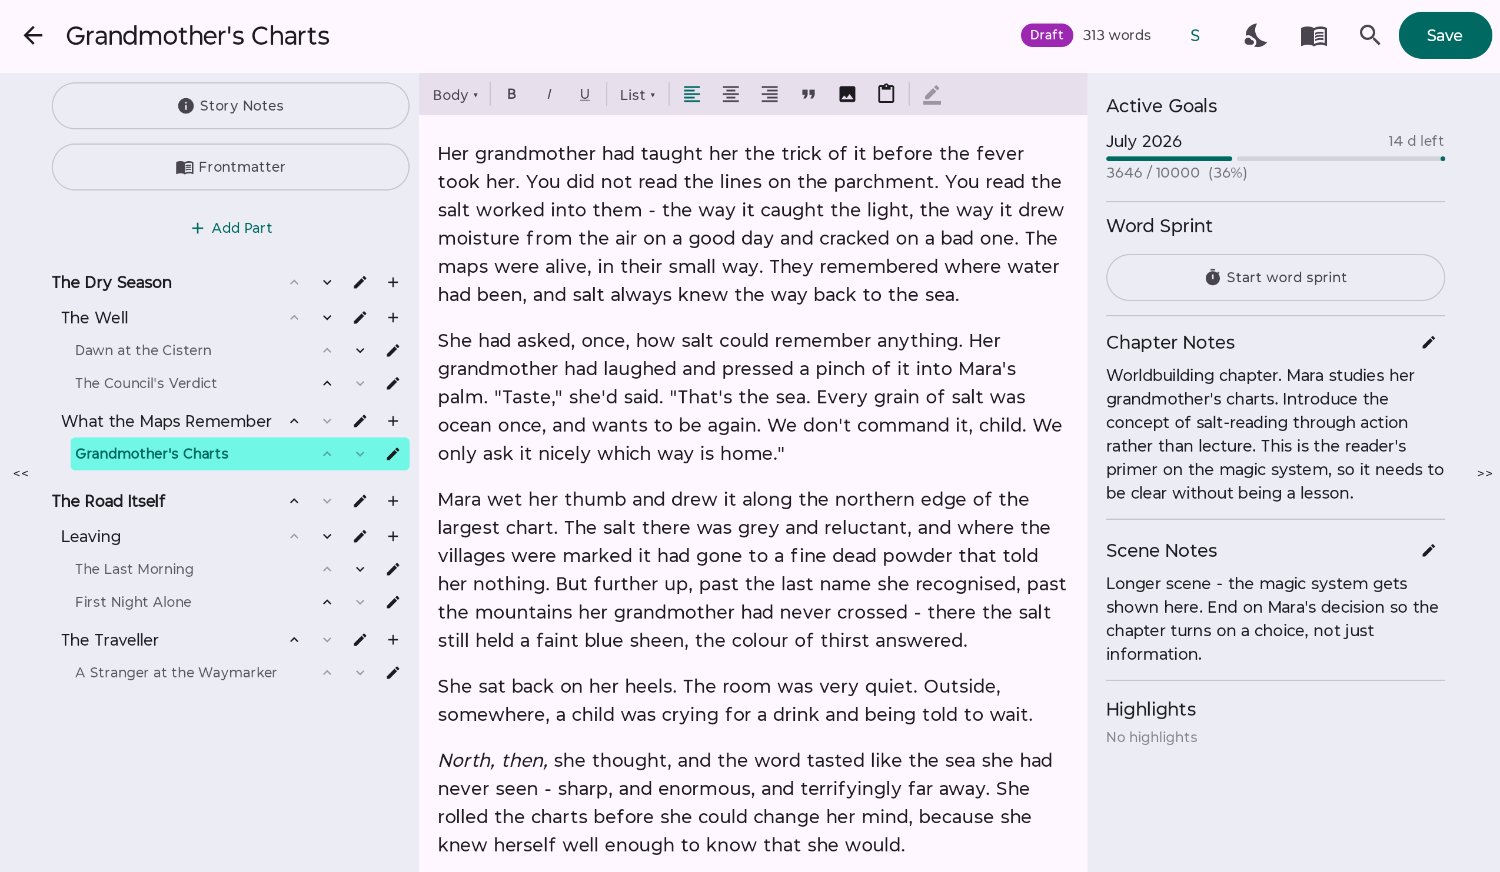
Scene editor view in light mode.
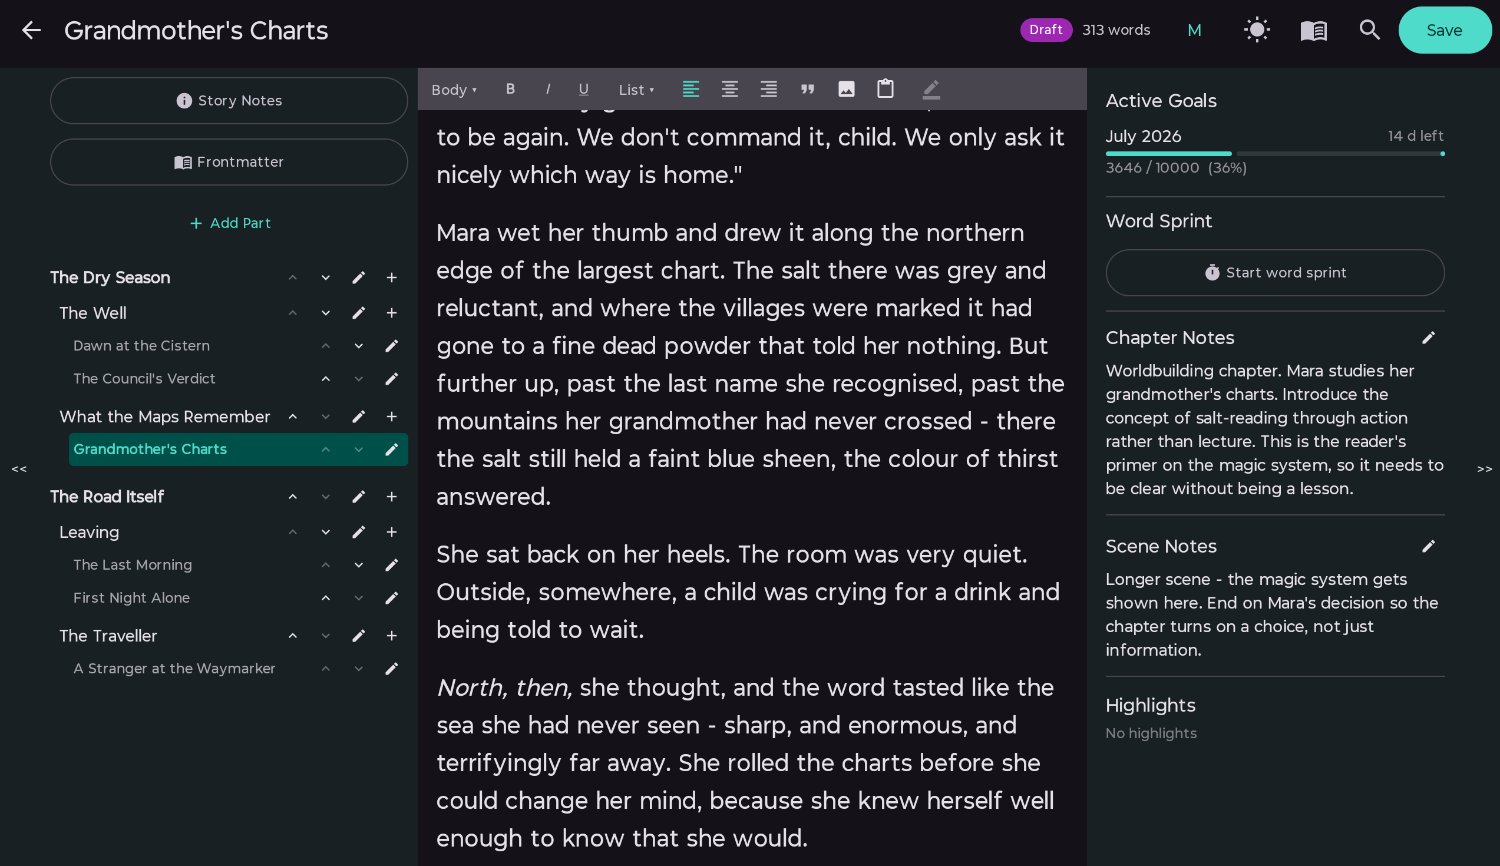
Scene editor with medium sized text.
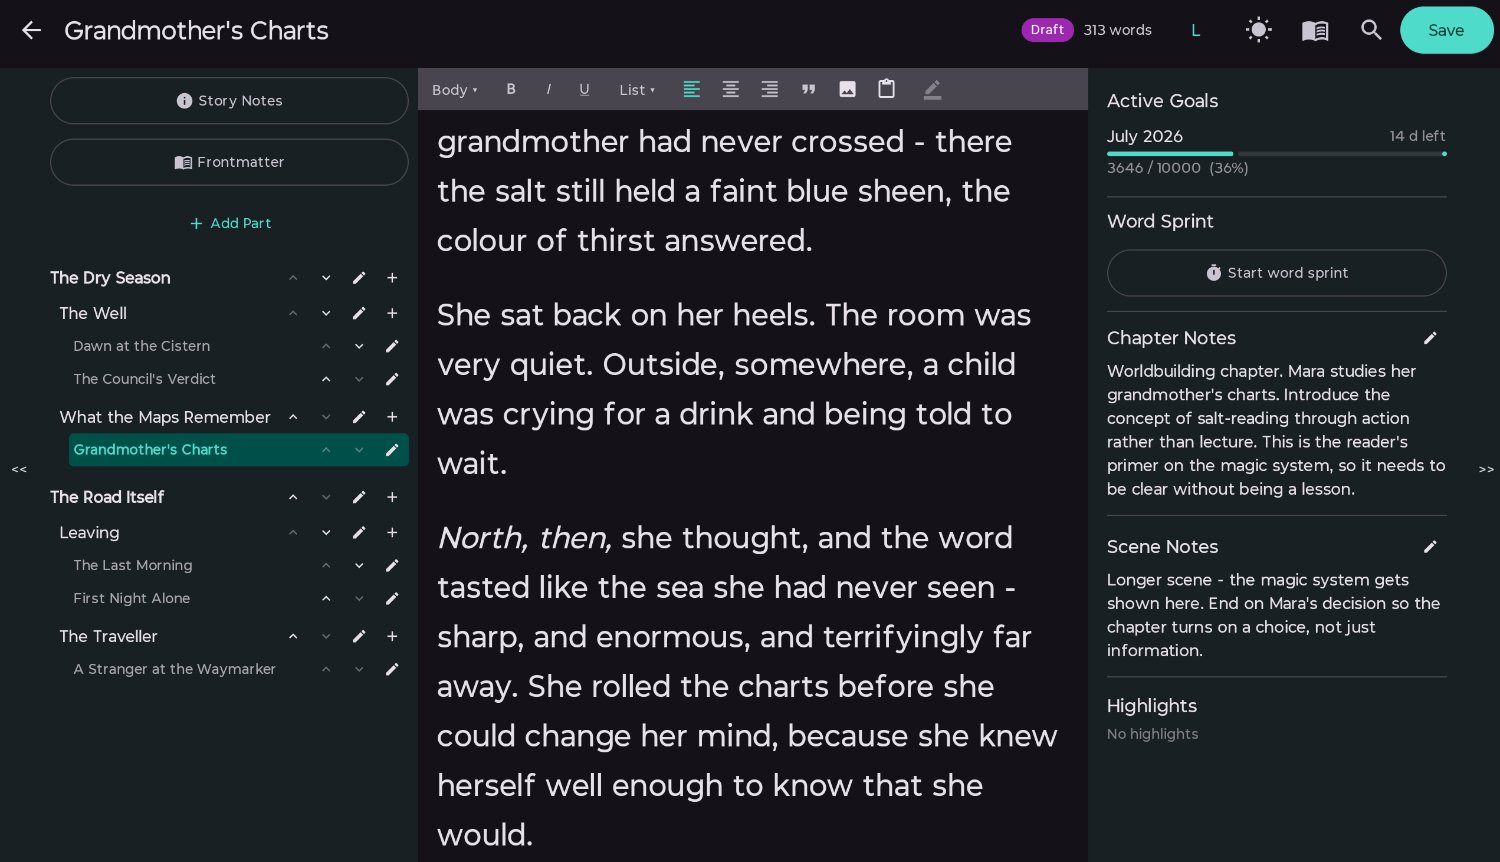
Scene editor with large sized text.
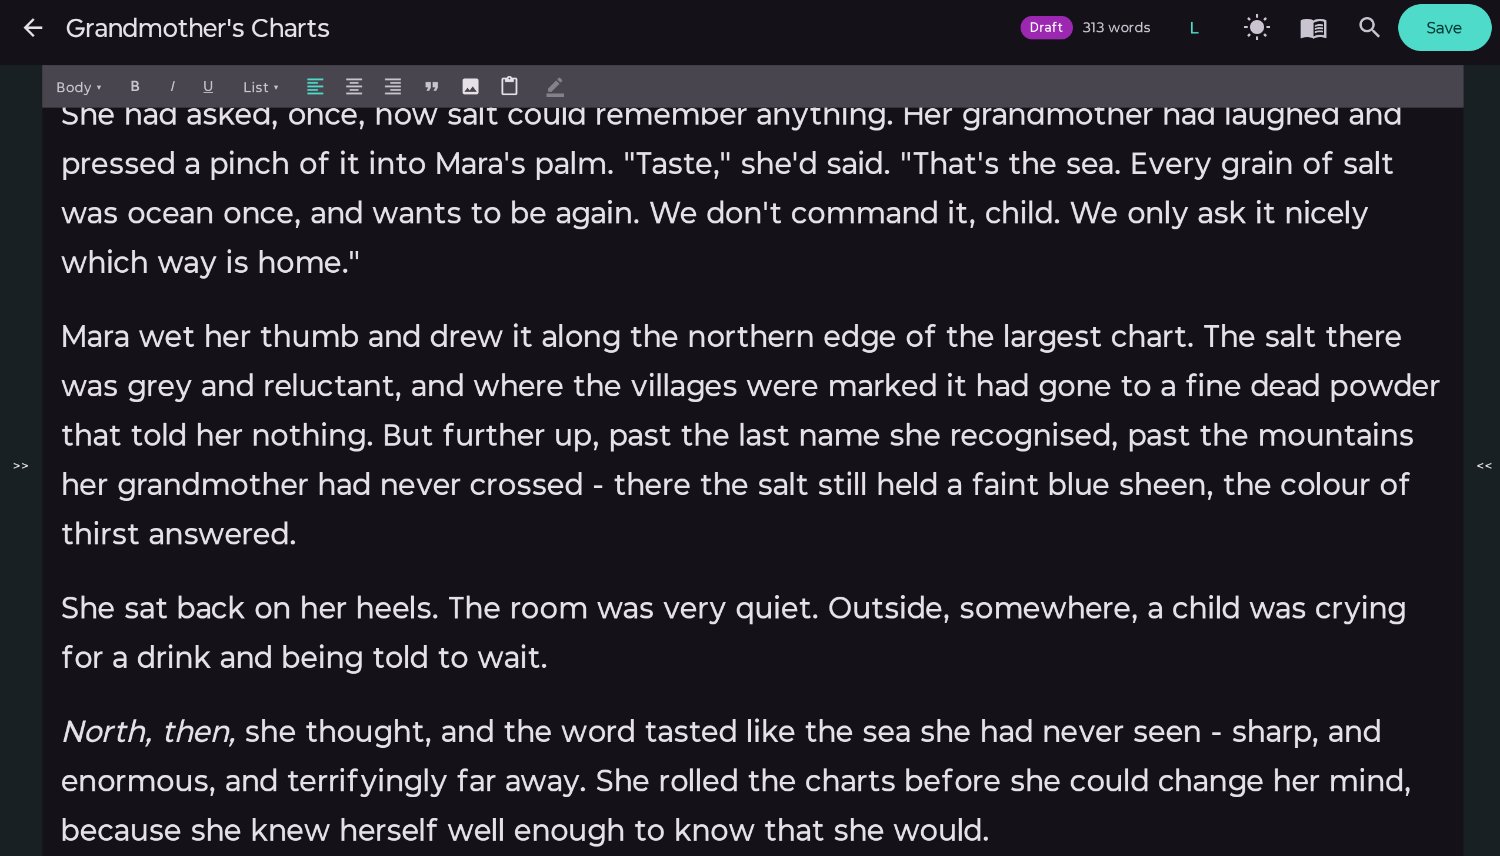
Collapse the side drawers for a more focused writing experience.
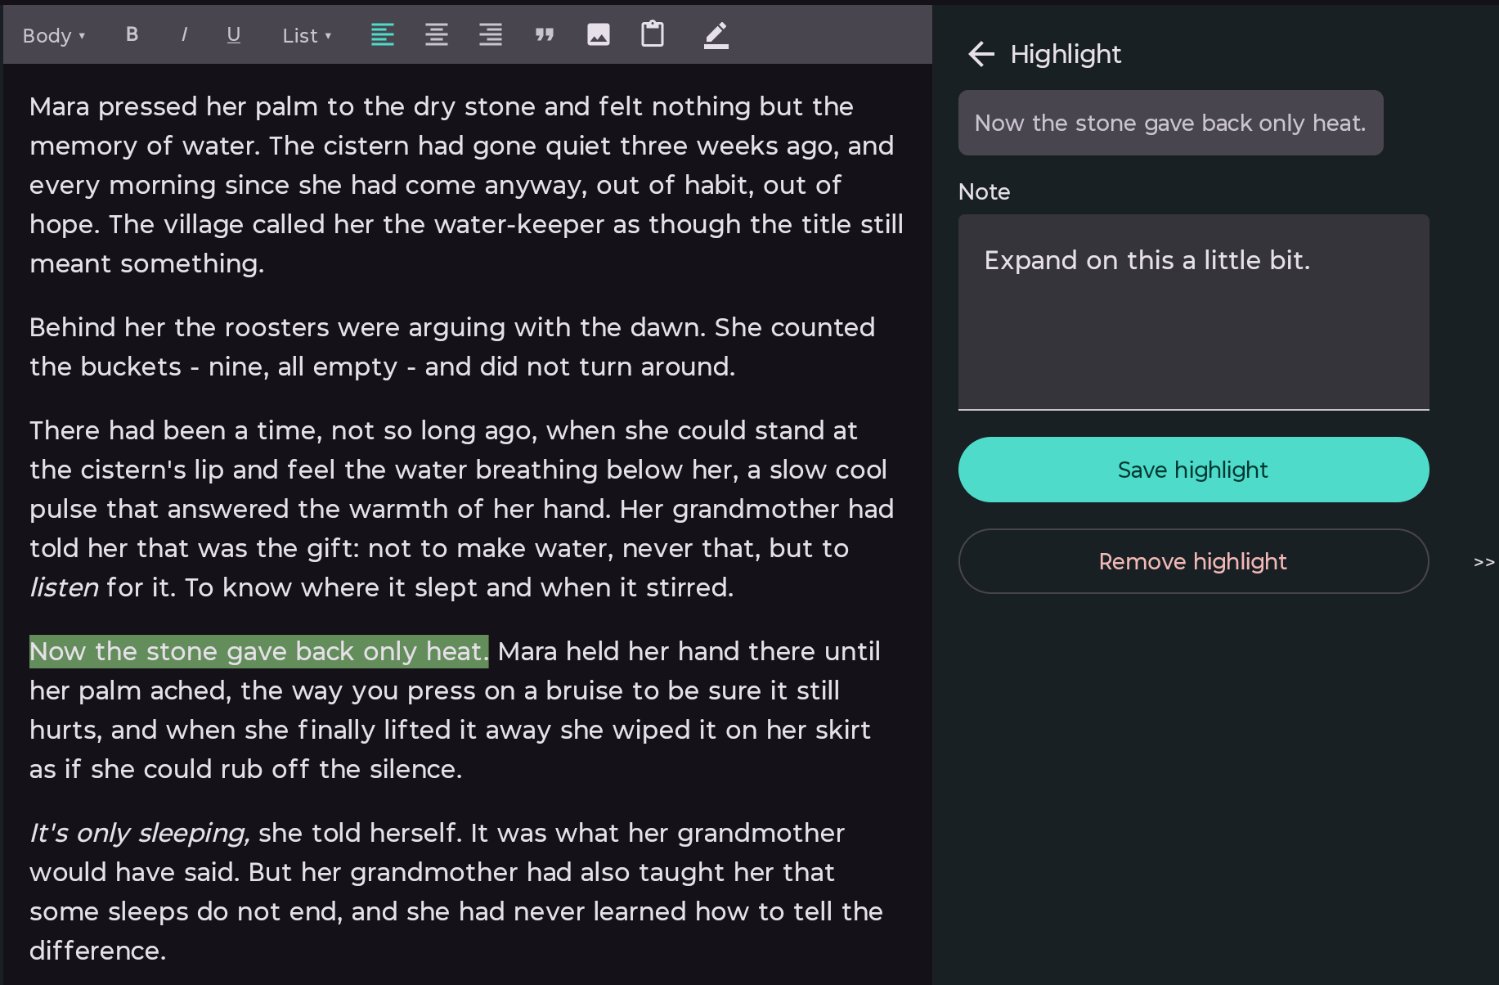
Create highlighted notes in your text to come back to later.
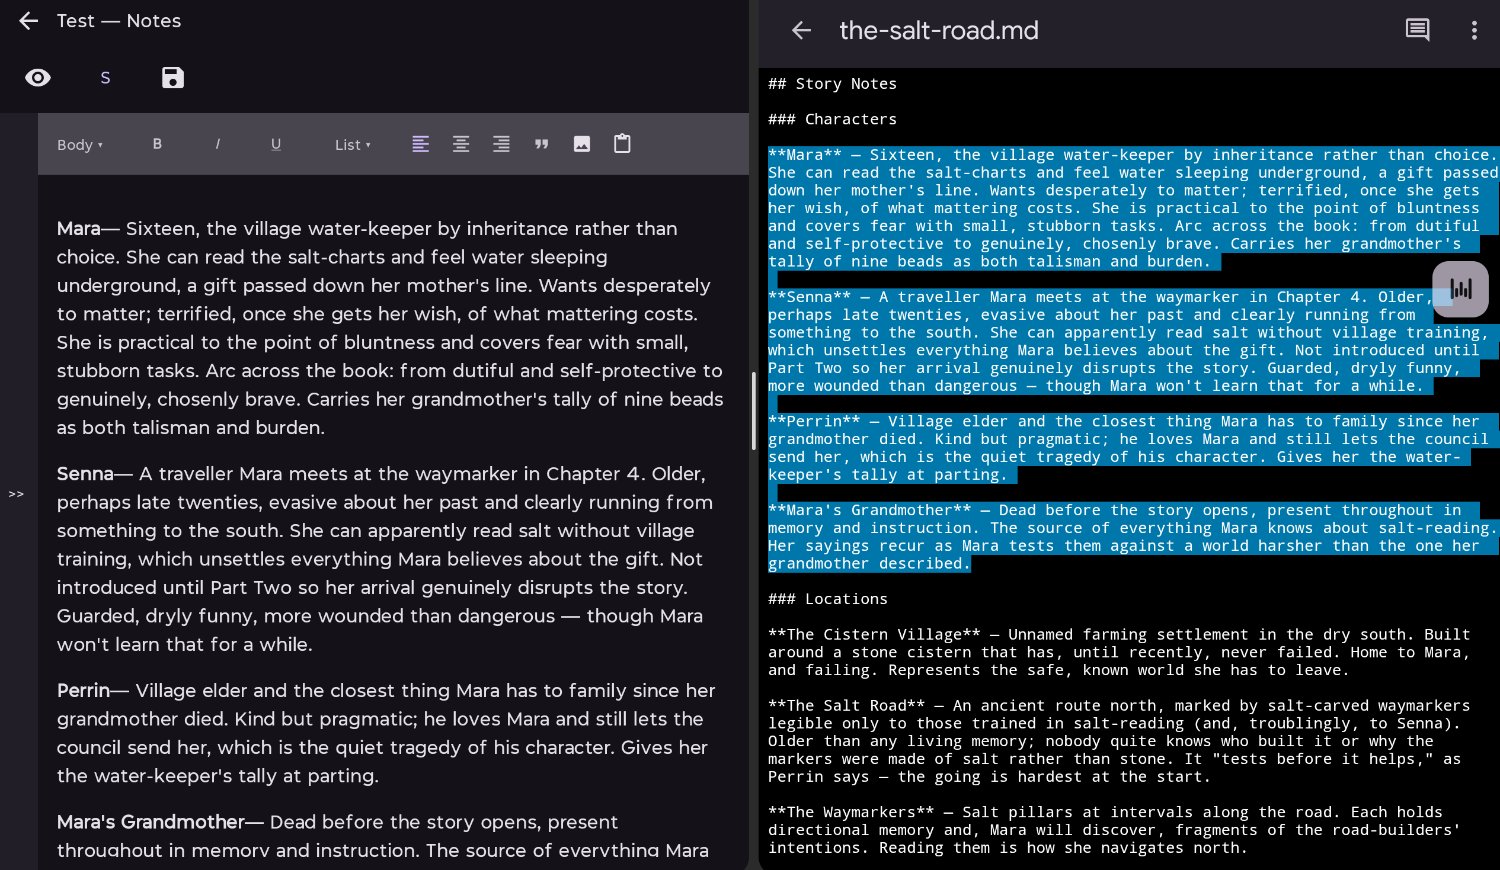
Copy Markdown-formatted text and paste it into your story with formatting using the paste button.
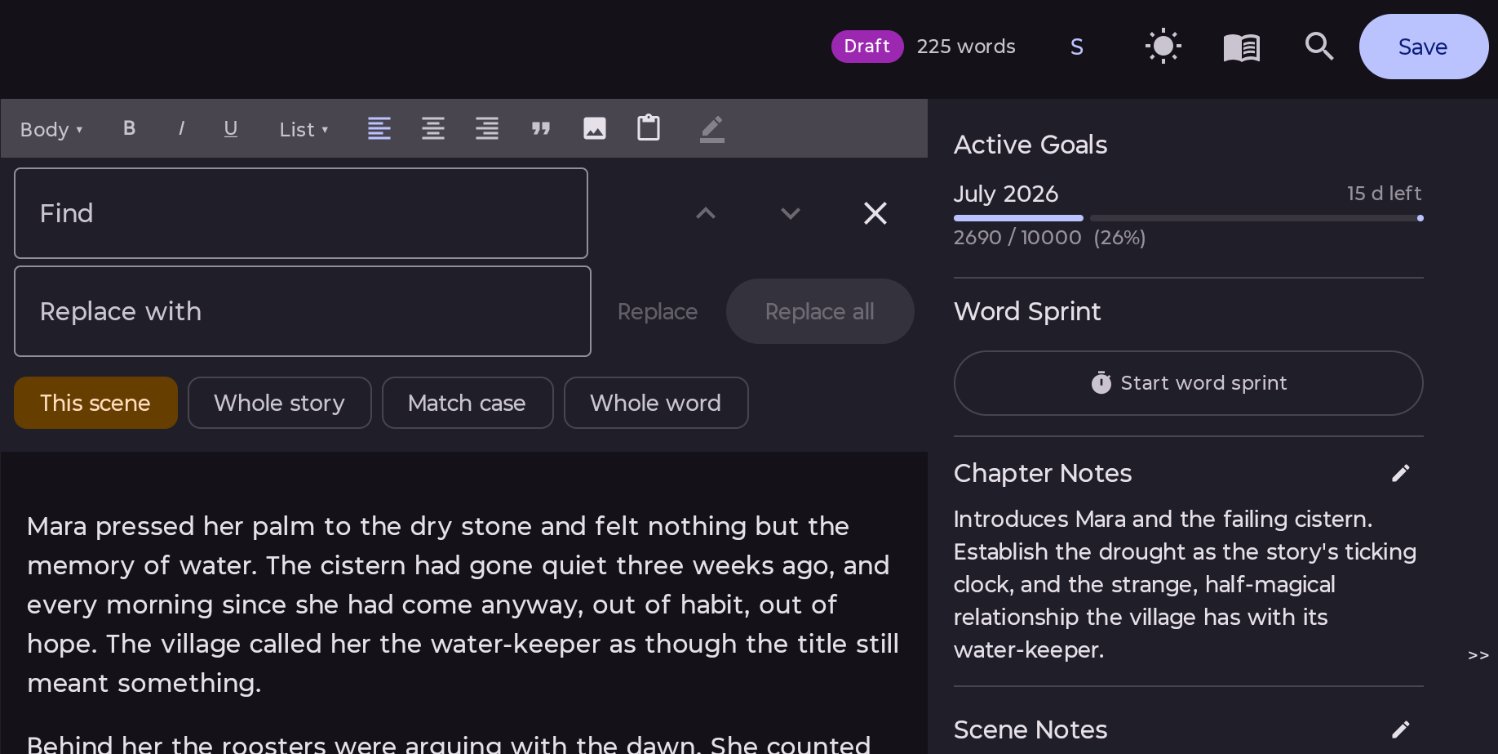
Clicking the search icon in the scene editor, story notes or frontmatter will allow you to use the find and replace feature.
Published 3 July 2026 · Last updated 16 July 2026